Grave Preparations
The soil in the cemetery area, with the exception of the last two graves which were outside of the contractors work area, was just as poor as Eastern border. Even though we planned on making the graves raised – essentially functioning as tapered raised beds – slapping top soil on top of poor soil would have just soured the new soil. Instead we launched into a week’s worth of enhancing the soil in each grave area according to what the planned plants needed.
One of the many things I love about gardening in small or raised beds – flexibility! The grave that would house our vervain and skullcap we made into more of a forest, rich loam and used the tiller to dig deep into the earth, mixing it well. Whereas the area where we’re using hyssop as a backdrop to one of the headstones has a slightly more arid mix with lots of stones.
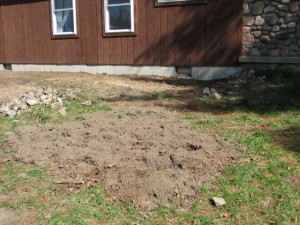
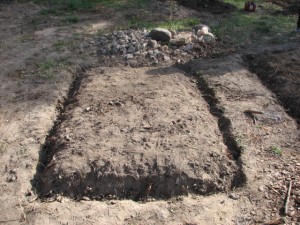
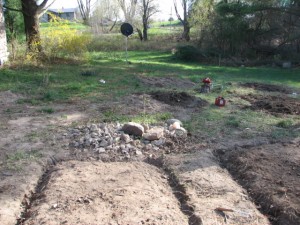
In the above photos, you can see some of the graves in their tilled form, the upper photo gives a view as to where the graves are situated in respect to the house/ Eastern border.
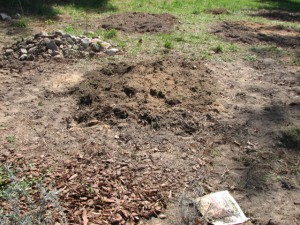
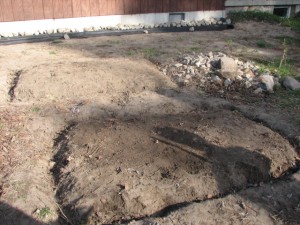
This is another grave shot, with organic matter piled on top of it to be tilled under. It’s a mess, but to create – you must destroy! Muauahahahah!
Ahem.
The next step in the processes was to clearly define the graves and mound each one. Keeping with the idea that this is supposed to be an old, Gothic cemetery, I wasn’t concerned with particularly straight lines or totally even grade. Not to mention, I’m sloppy, just like nature so it works for me 🙂
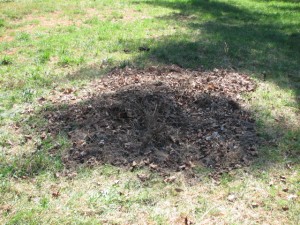
More shots on the mounding of the graves –
After they were mounded we took out the weed blocker! This not only has created a wonderfully mostly weed-free grave but keeps the mounded soil from eroding.
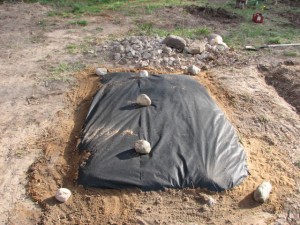
We went through and did the same thing with all the other graves except for one, which our son is using as his sunflower garden this year lol A bit strange for a cemetery, but our tiller broke shortly after breaking ground for our veggie garden so, I don’t have a way to make him his own garden yet.

One Comment