Homemade Marshmallows by Sara Thompson! Yum!
To celebrate the release of Weeping Dark: Bleeding Edge and the spunky heroine Shayla Dormyr, we’re highlighting one of Shayla’s favorite things – marshmallows!
Sara Thompson from Sara’s Soaks joins us today with a wonderful homemade marshmallow recipe, complete with alternatives, that you can enjoy in your own kitchen.
Homemade Marshmallows
Sara Thompson
As with most complicated looking recipes, it took me a long time to talk myself into making homemade marshmallows. They just look hard but the first time amazed me. Not only are marshmallows easy to make, they are rather forgiving when you experiment. The recipe I’m sharing is just for plain ole basic marshmallows but I can’t leave it like that without giving you some tips for making them all fun and exciting. However, I recommend that you make the original recipe first so you have a clear idea of how they should turn out.
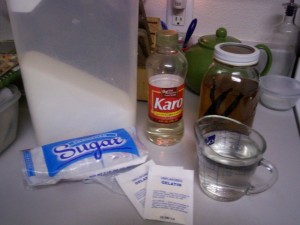
The ingredients needed are:
3 packets of unflavored gelatin
1 cup cold water
1 cup light corn syrup
1 ½ cups sugar
1-2 teaspoons extract (I use 2 teaspoons vanilla or 1 teaspoon of a stronger flavor)
½ cup or so powdered/confectioner’s sugar (most commercial brands are a mix of sugar and corn starch, if yours is not then mix ¼ cup powdered sugar to ¼ starch – corn, tapioca or arrowroot)
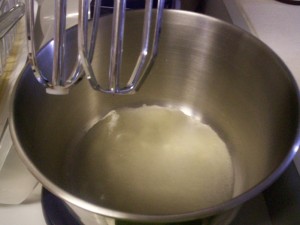
Pour ½ of the water in the bowl of a standing mixer. If you do not have a stand mixer, you can use a hand mixer if it’s heavy duty. A cheap mixer will not hold up well to the marshmallow goo and doing it by hand without any mixer is rather tough.
Sprinkle on the three packets of gelatin. Don’t worry if it’s even and don’t stir.
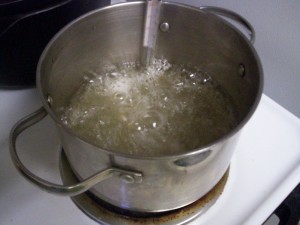
Add the remaining water, sugar and corn syrup to a saucepan. Cover and bring to a boil over medium high heat. Let it boil for a few minutes. I put the pot on the stove and set the timer for about 5 minutes. This allows all the sugar to melt.
Remove lid and keep boiling until the mixture reaches 240 degrees. This will take several minutes. It’s a good time to prep the pan for the goo to set up.
I used coconut oil this time but any light oil works great. Rub it all over the pan and up all the sides. I used a jelly roll pan here but a 9 x 13 cake pan works great or any pan. It all depends on how thick you want your marshmallows. The trick is to not miss a single spot with the oil.
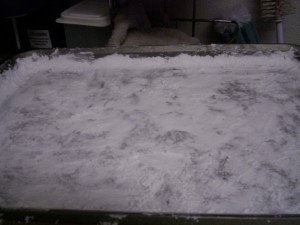
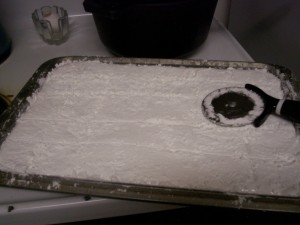
Then coat the pan heavily with powdered sugar. It might take a bit more than ½ cup, I don’t measure. Pat the sugar all over the pan to ensure that the entire pan is covered. You’ll see some spots on the edge that I didn’t quite cover – my marshmallows stuck just a little in those spots but because they were small, it didn’t damage the end result. You will need more powdered sugar on the top of the goo.
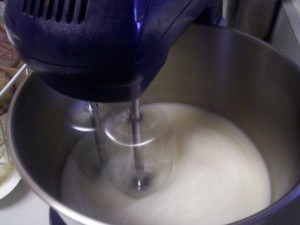
One the syrup has reached 240, remove the pan from the stove and start the mixer. While the mixer is going at a low speed, pour in the syrup. You can use a rubber spatula to scrape out the pan. Once you have poured all the syrup in, turn the mixer to high and let it go.
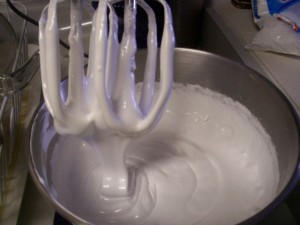
The work is a little slow at times but keep a close eye because it can become a mess if you are not paying attention. Once the mixture starts to thicken, I add the vanilla and let it get real thick.
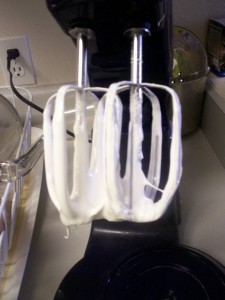
Once it’s sticking pretty good to the blades it’s ready to be poured into the pan.
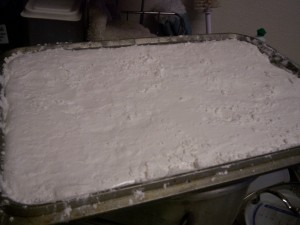
I dump the goo into the pan as even as I can before coating the top with more powdered sugar. Then I take a clean rubber spatula or my hands and smooth out the top. You need lots of powdered sugar to prevent sticking.
Let the goo set up for several hours before cutting.
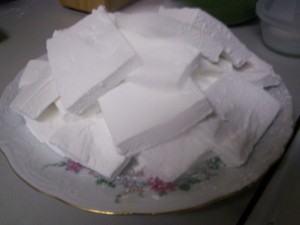
To cut, oil a pizza cutter and coat with powdered sugar. Once in squares, carefully pull the pieces apart and dip into the excess powdered sugar on top of the marshmallows or in the pan.
I like to let my marshmallows sit out for up to a whole day before putting in a bag or plastic container. If they go in too wet then they just stick together.
Want flavored marshmallows –
Replace the water with cold juice.
Replace the corn syrup with fruit syrups (the end result might not be as sweet or as firm).
Try different flavored extracts.
Add cocoa powder to powdered sugar.
We’ve made some rather interesting flavored marshmallows. Our favorites were made with cherry syrup and then used as the center of homemade chocolates. Homemade marshmallows don’t roast as nicely as store-bought but I think they taste far better in s’mores.
For those on a budget, while it costs just a touch more to make a batch of homemade marshmallows than it takes to buy a bag, we’ve discovered that you get a whole lot more.
If you are going to make crispie treats, don’t skimp on the set up time. I thought I’d save some time and use my marshmallow goo for the treats. They did not set up correctly but that didn’t stop us from eating them.
One last thing, the goo is the same as store-bought marshmallow cream.
Now you should have a good feel for making your own marshmallows and the wonderful things you can do with it. Don’t let it intimidate you. Homemade marshmallows are awesome.

One Comment